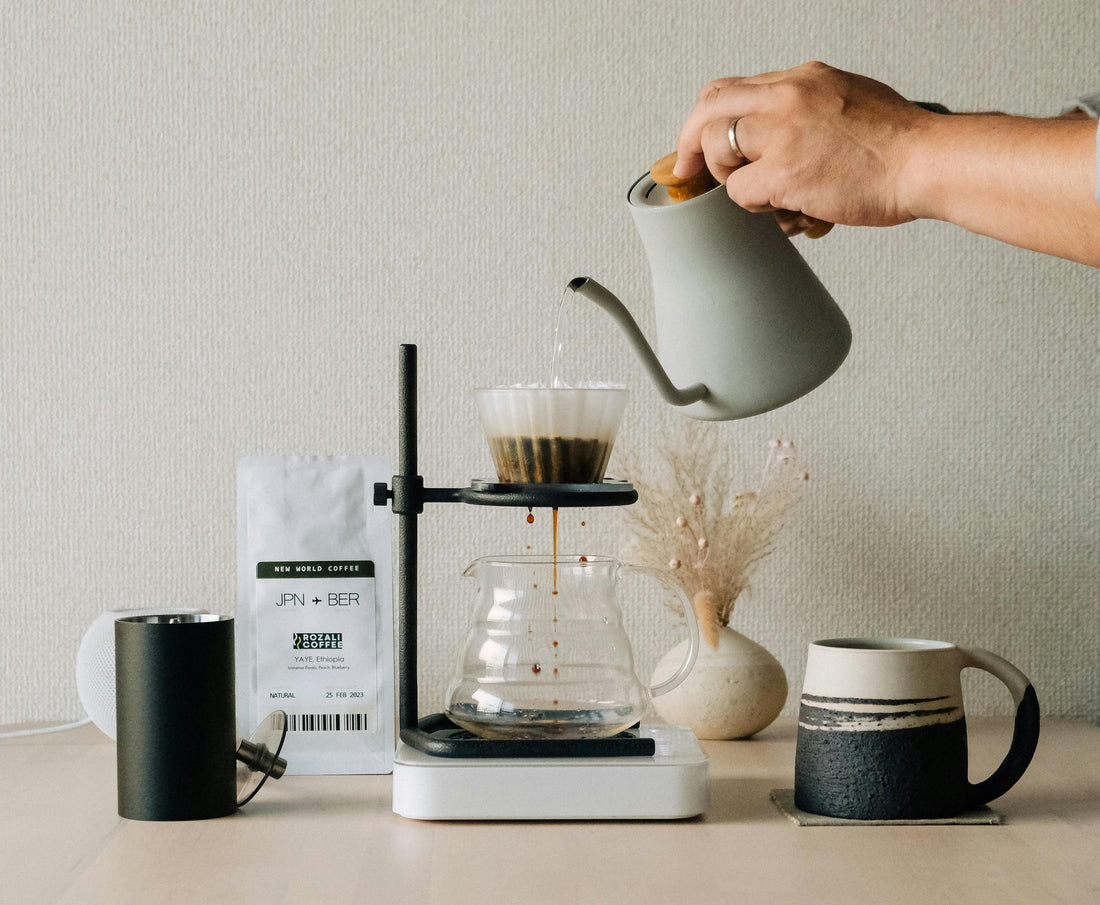
The Ultimate Beginner's Guide to Perfect Pour-Over Coffee
Share
Ever wonder why the coffee from your favorite specialty cafe tastes so clean, vibrant, and full of complex flavors? The secret is often the pour-over method.
It might look intimidating with all its fancy equipment, but at its heart, pour-over is a simple, meditative process that gives you complete control over your brew. And the best part? You can easily achieve cafe-quality results right in your own kitchen.
This is your ultimate beginner's guide to mastering the perfect pour-over.
What You'll Need (The Gear)
You don't need a professional lab, just a few key items:
- A Quality Burr Grinder (The Most Important Tool!): The key to a balanced, non-bitter extraction is a consistent grind. Blade grinders chop beans unevenly, leading to a muddy and disappointing cup. A quality manual burr grinder like the Kafaholic Helix 7 Pro gives you the precision you need to unlock your coffee's true potential.
- A Dripper: V60, Kalita Wave, or any cone-shaped dripper will do.
- Paper Filters: Make sure they fit your dripper.
- A Gooseneck Kettle: For precise, controlled pouring.
- A Digital Scale: For accuracy.
- Your Favorite Coffee Beans & A Mug!
The 5-Step Process to the Perfect Pour-Over
For this guide, we'll use a standard ratio: 15g of coffee to 250g of water.
Step 1: The Perfect Grind
This is where the magic starts. For pour-over, you want a medium-coarse grind, similar in consistency to sea salt. On the Kafaholic Helix 7 Pro, this is typically around the 20-25 click setting. Grind your 15g of beans fresh. The aroma alone is worth it!
Step 2: The Rinse & Preheat
Place the paper filter in your dripper and set it on your mug. Pour hot water through the filter to rinse away any paper taste and to preheat your dripper and mug. Don't forget to discard this water!
Step 3: The Bloom (30-45 seconds)
Add your 15g of ground coffee to the filter, giving it a gentle shake to level the bed. Place it all on your scale and tare it to zero. Start your timer and slowly pour about 30-40g of hot water (just off the boil, around 93°C / 200°F) over the grounds, ensuring they are all saturated. You'll see the coffee "bloom" or expand as it releases CO2. This is a sign of freshness!
Step 4: The Main Pour
After the bloom, continue pouring the water in slow, steady, circular motions. Work your way from the center outwards and back again. Try to maintain a consistent water level. Pour until your scale reads 250g.
Step 5: The Drawdown & Enjoy
Once all the water is poured, let the coffee finish dripping through the filter (this is called the drawdown). The entire process, from bloom to finish, should take about 2:30 to 3 minutes. Once it's done, remove the dripper, give your coffee a gentle swirl, and enjoy the best cup you've ever made at home.
Congratulations, you're now a home barista!
